PastelBord--a new surface

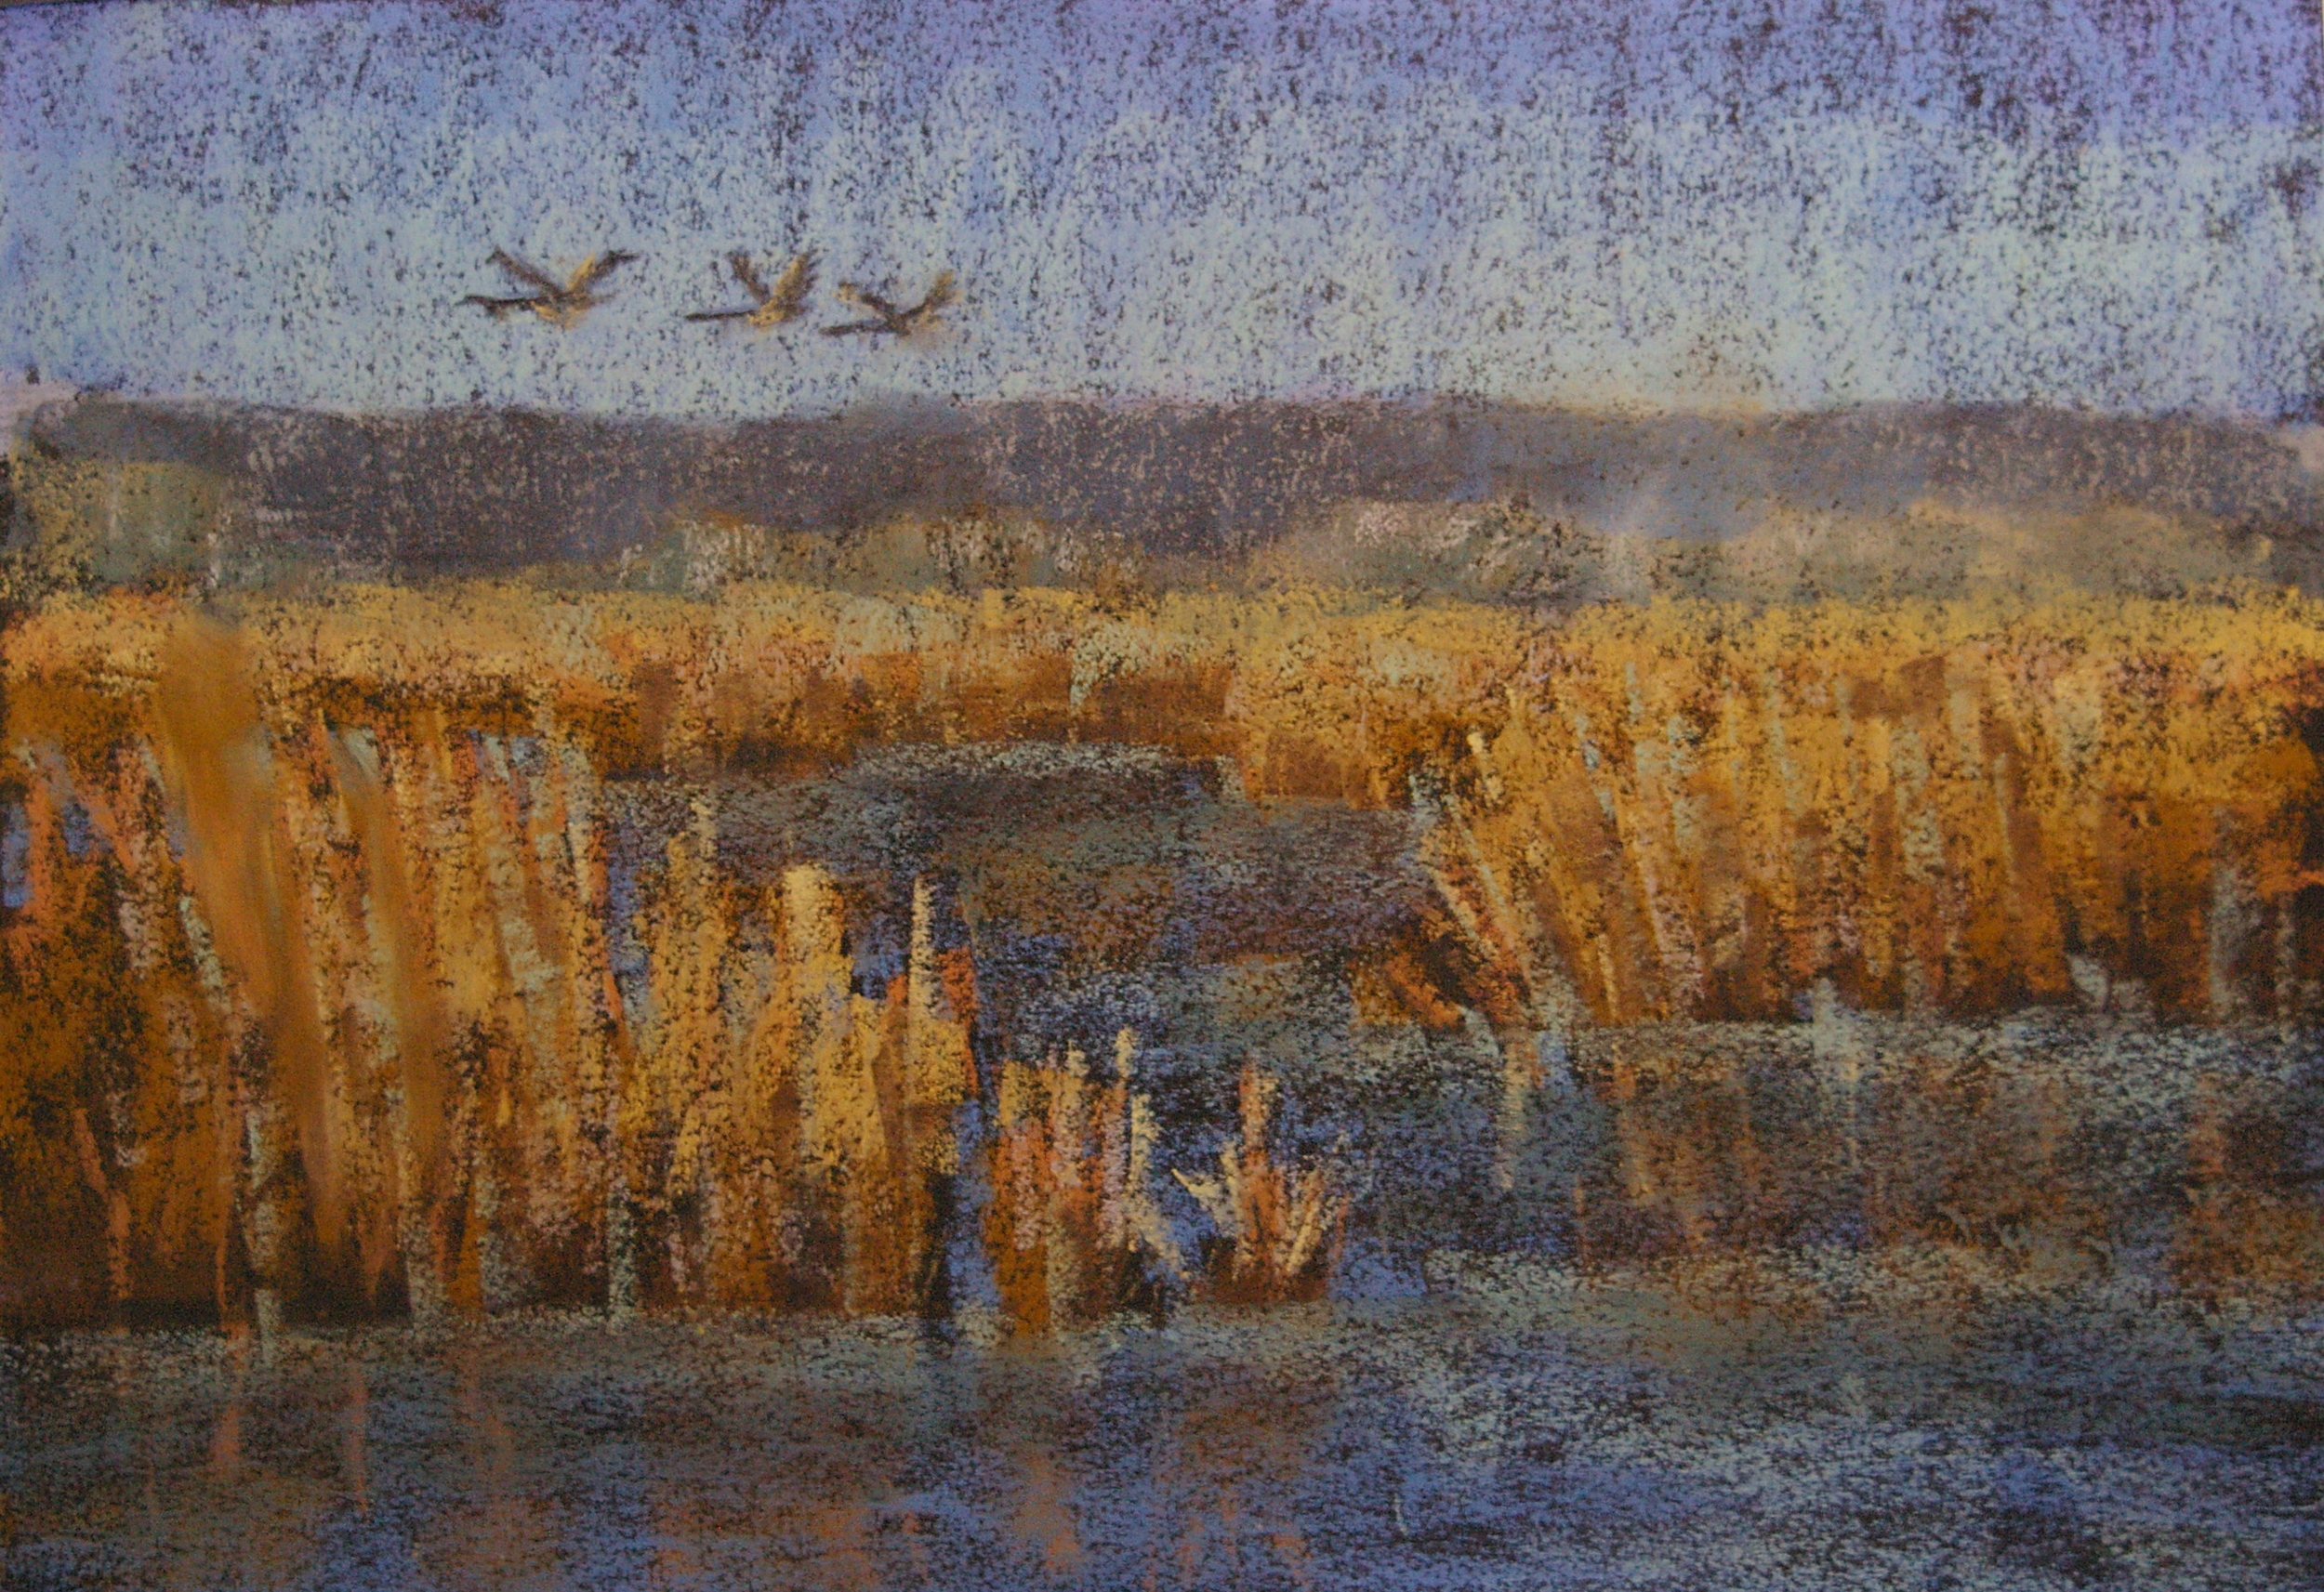
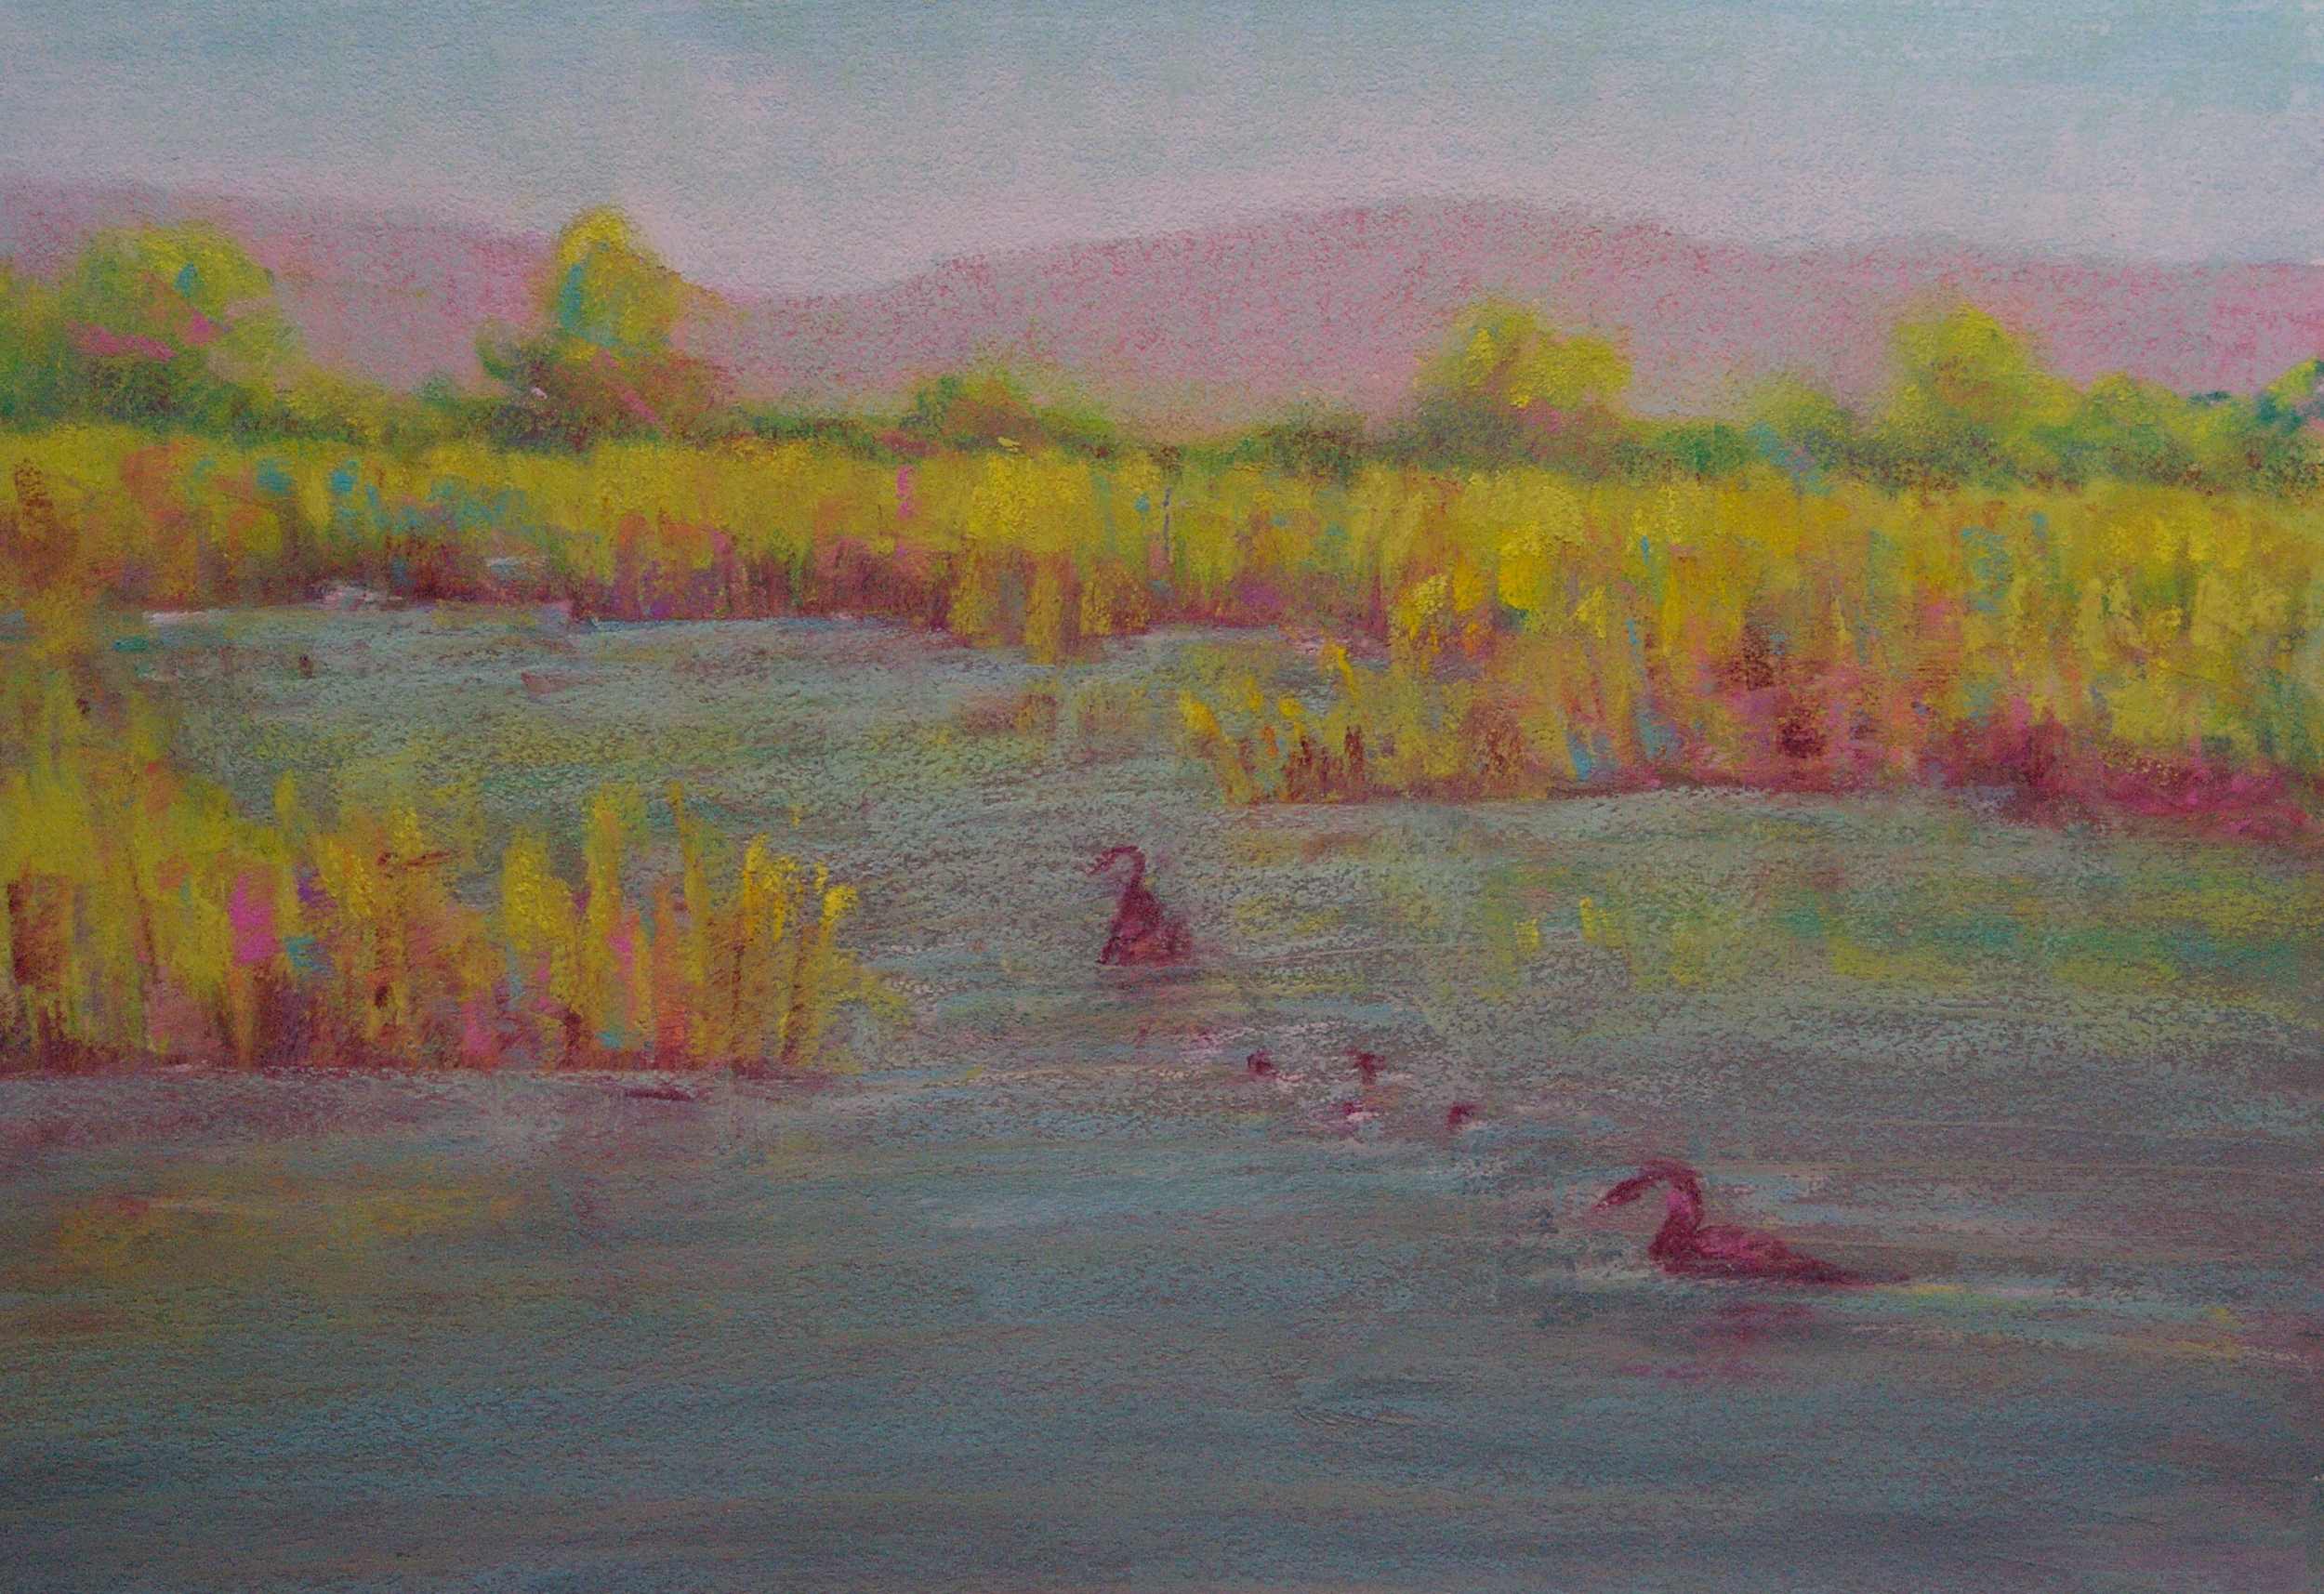
I've just tried out a new pastel painting surface--well, it's been around for awhile but I haven't tried it before.  It's called PastelBord and it's by Ampersand.  Each board is a rigid composition-board support coated with some kind of a clay mixture.  It doesn't feel as if it has a lot of tooth--it's sort of like suede--but the label insists that it accepts "unlimited layers" so I thought I'd give it a try. Inspired by the emerging signs of spring here, I chose a scene featuring the burgeoning colours in the willows and dogwoods along local streams. The first lesson I learned was to make sure that whatever I draw on it with isn't too sharp.  I laid out my composition with a pastel pencil that had been carelessly sharpened (by me!) and which had a protruding sharp point of wood.  This point scratched into the clay surface, and created shallow grooves that were nevertheless somewhat hard to disguise with later applications of pastel.  Note to self: sharpen your pencils more carefully or use a pastel stick for layout!

After that epiphany, however, all went smoothly.  The surface is easy to blend and layer on, and the gray colour (it also comes in white) really made the pastel hues jump out.  It's a bit more expensive than sanded paper, but the advantage is that your framer won't have to add a rigid backing board to it when framing, so it works out about the same in the end.

I like this product, and have special-ordered eight of their largest size (I think it's 24 x 30) for special works that are planned for an exhibition in 2013 at Station Gallery in Whitby, Ontario.  What will they be?  I don't know yet, but I'm sure having these large boards around will inspire me! :)

Here's the piece that resulted, titled Early Colours.
 

A Portrait Experience

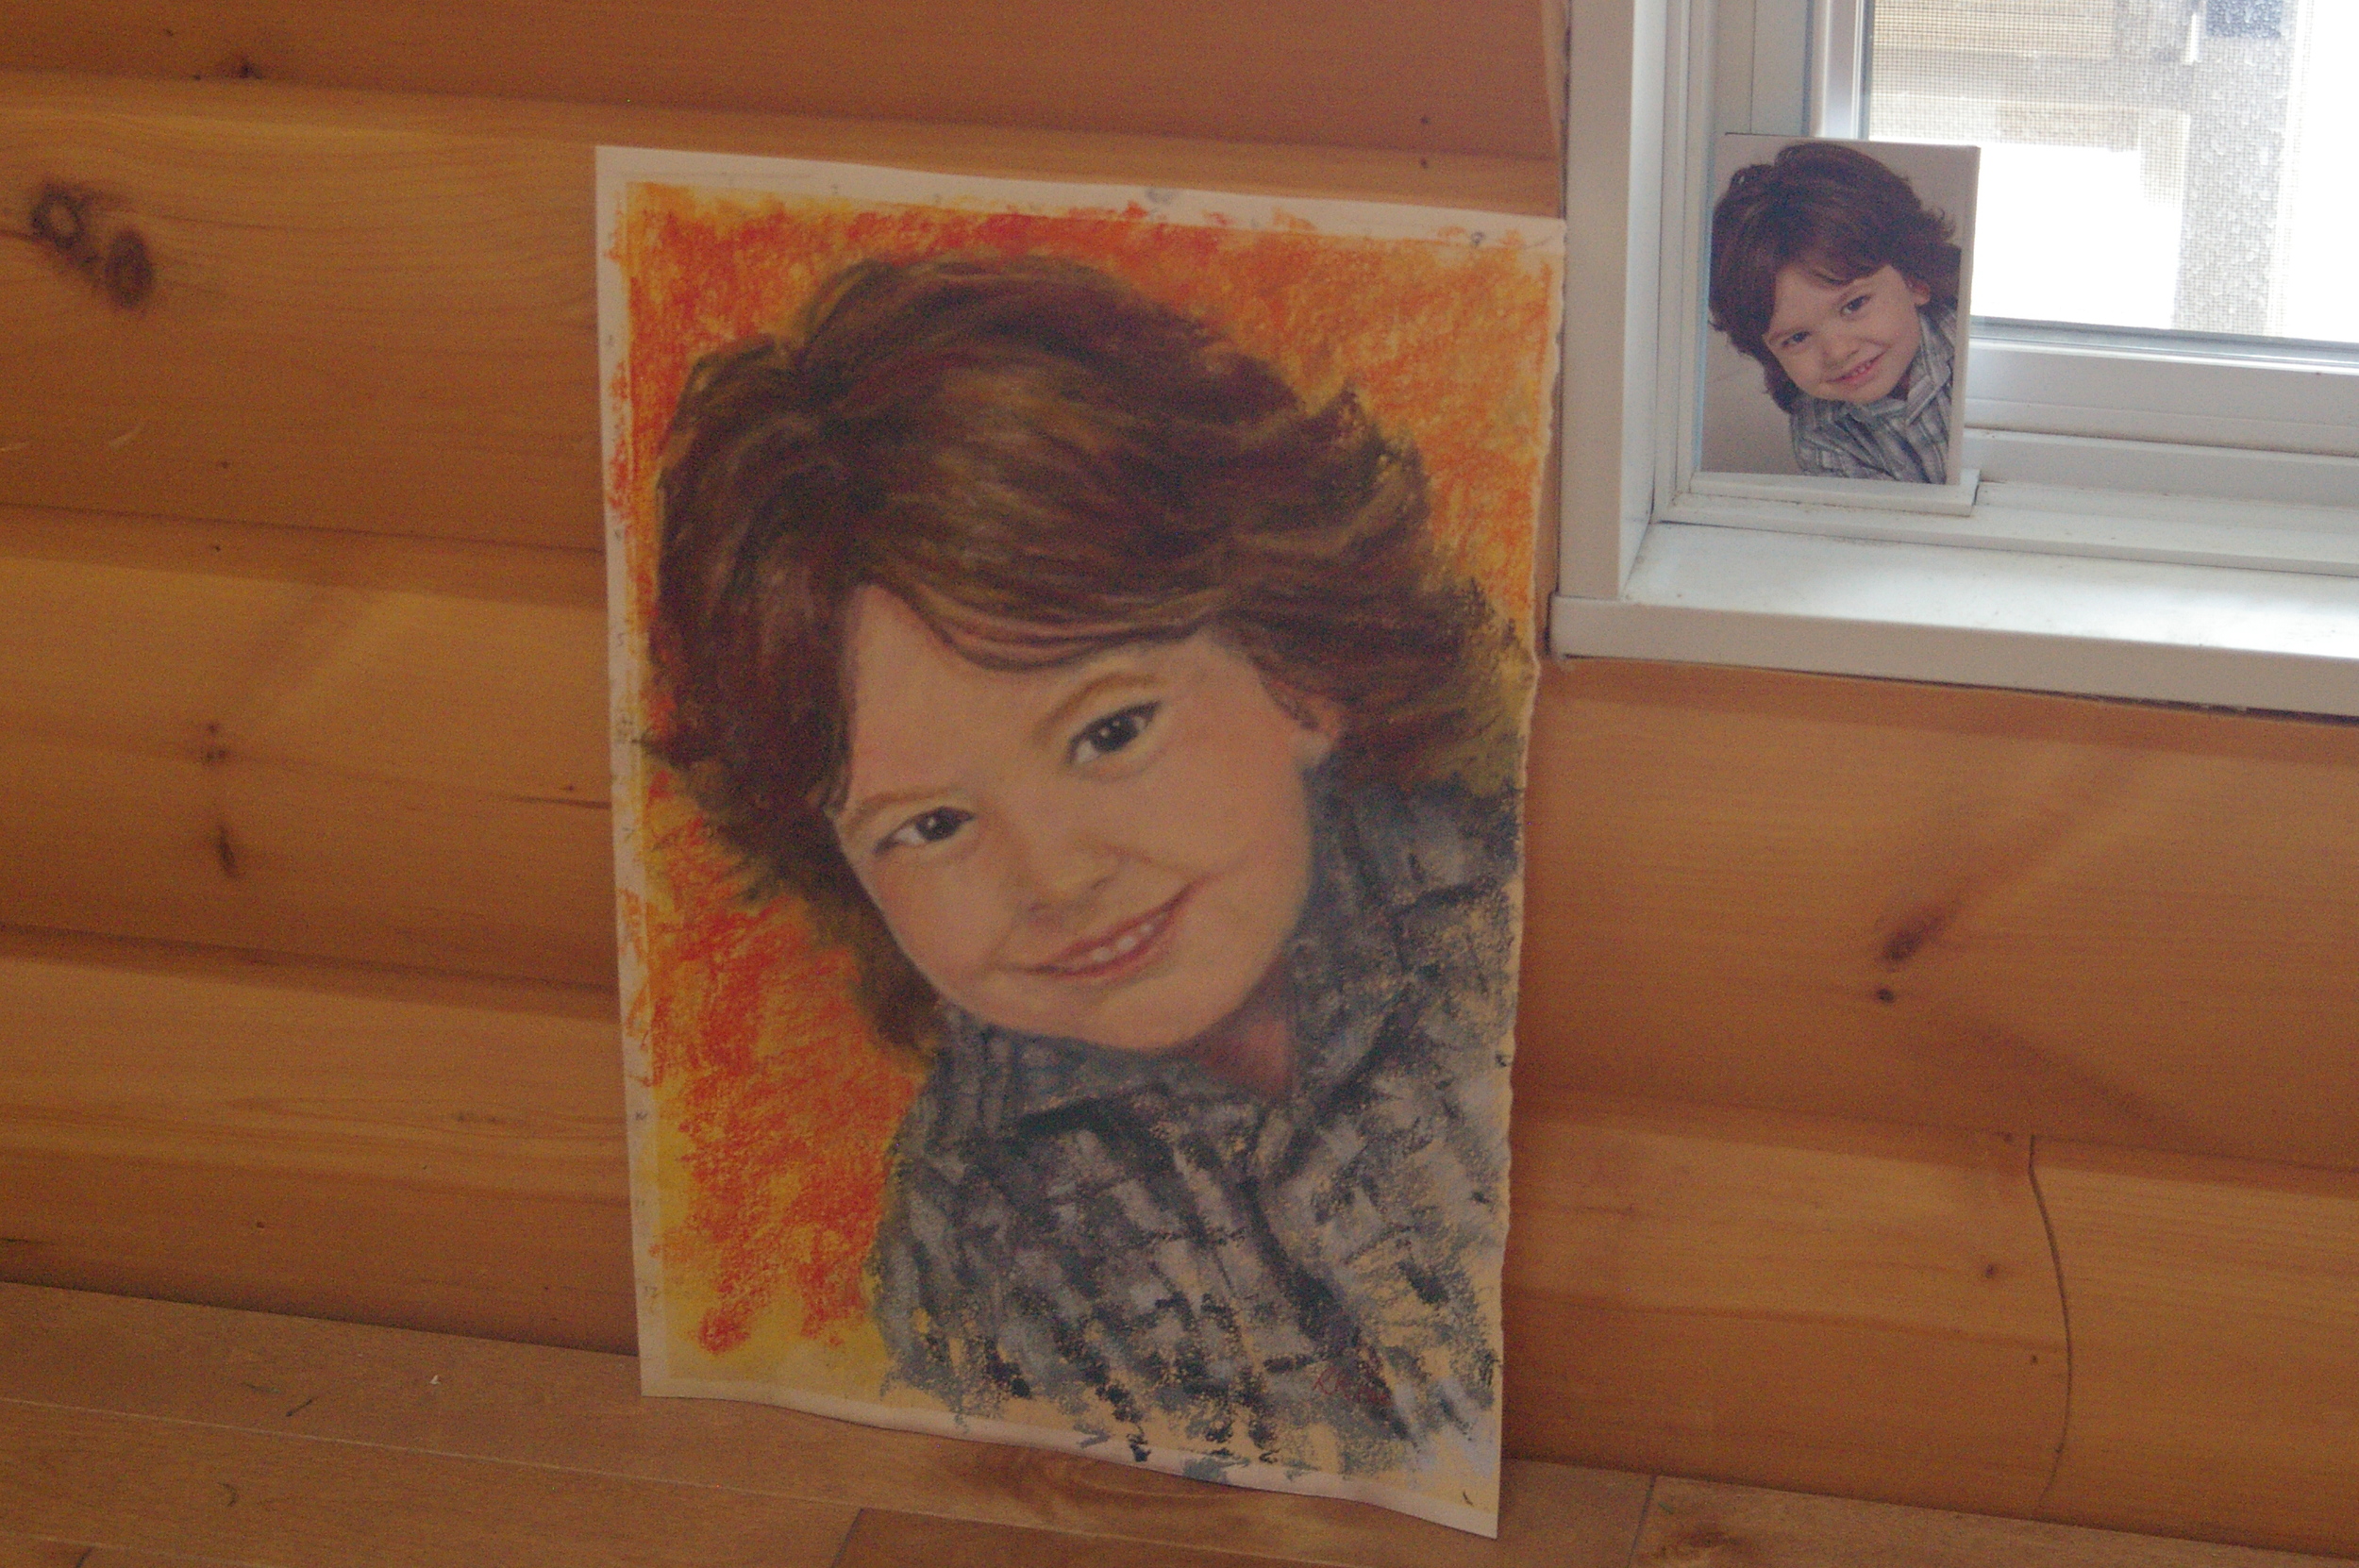
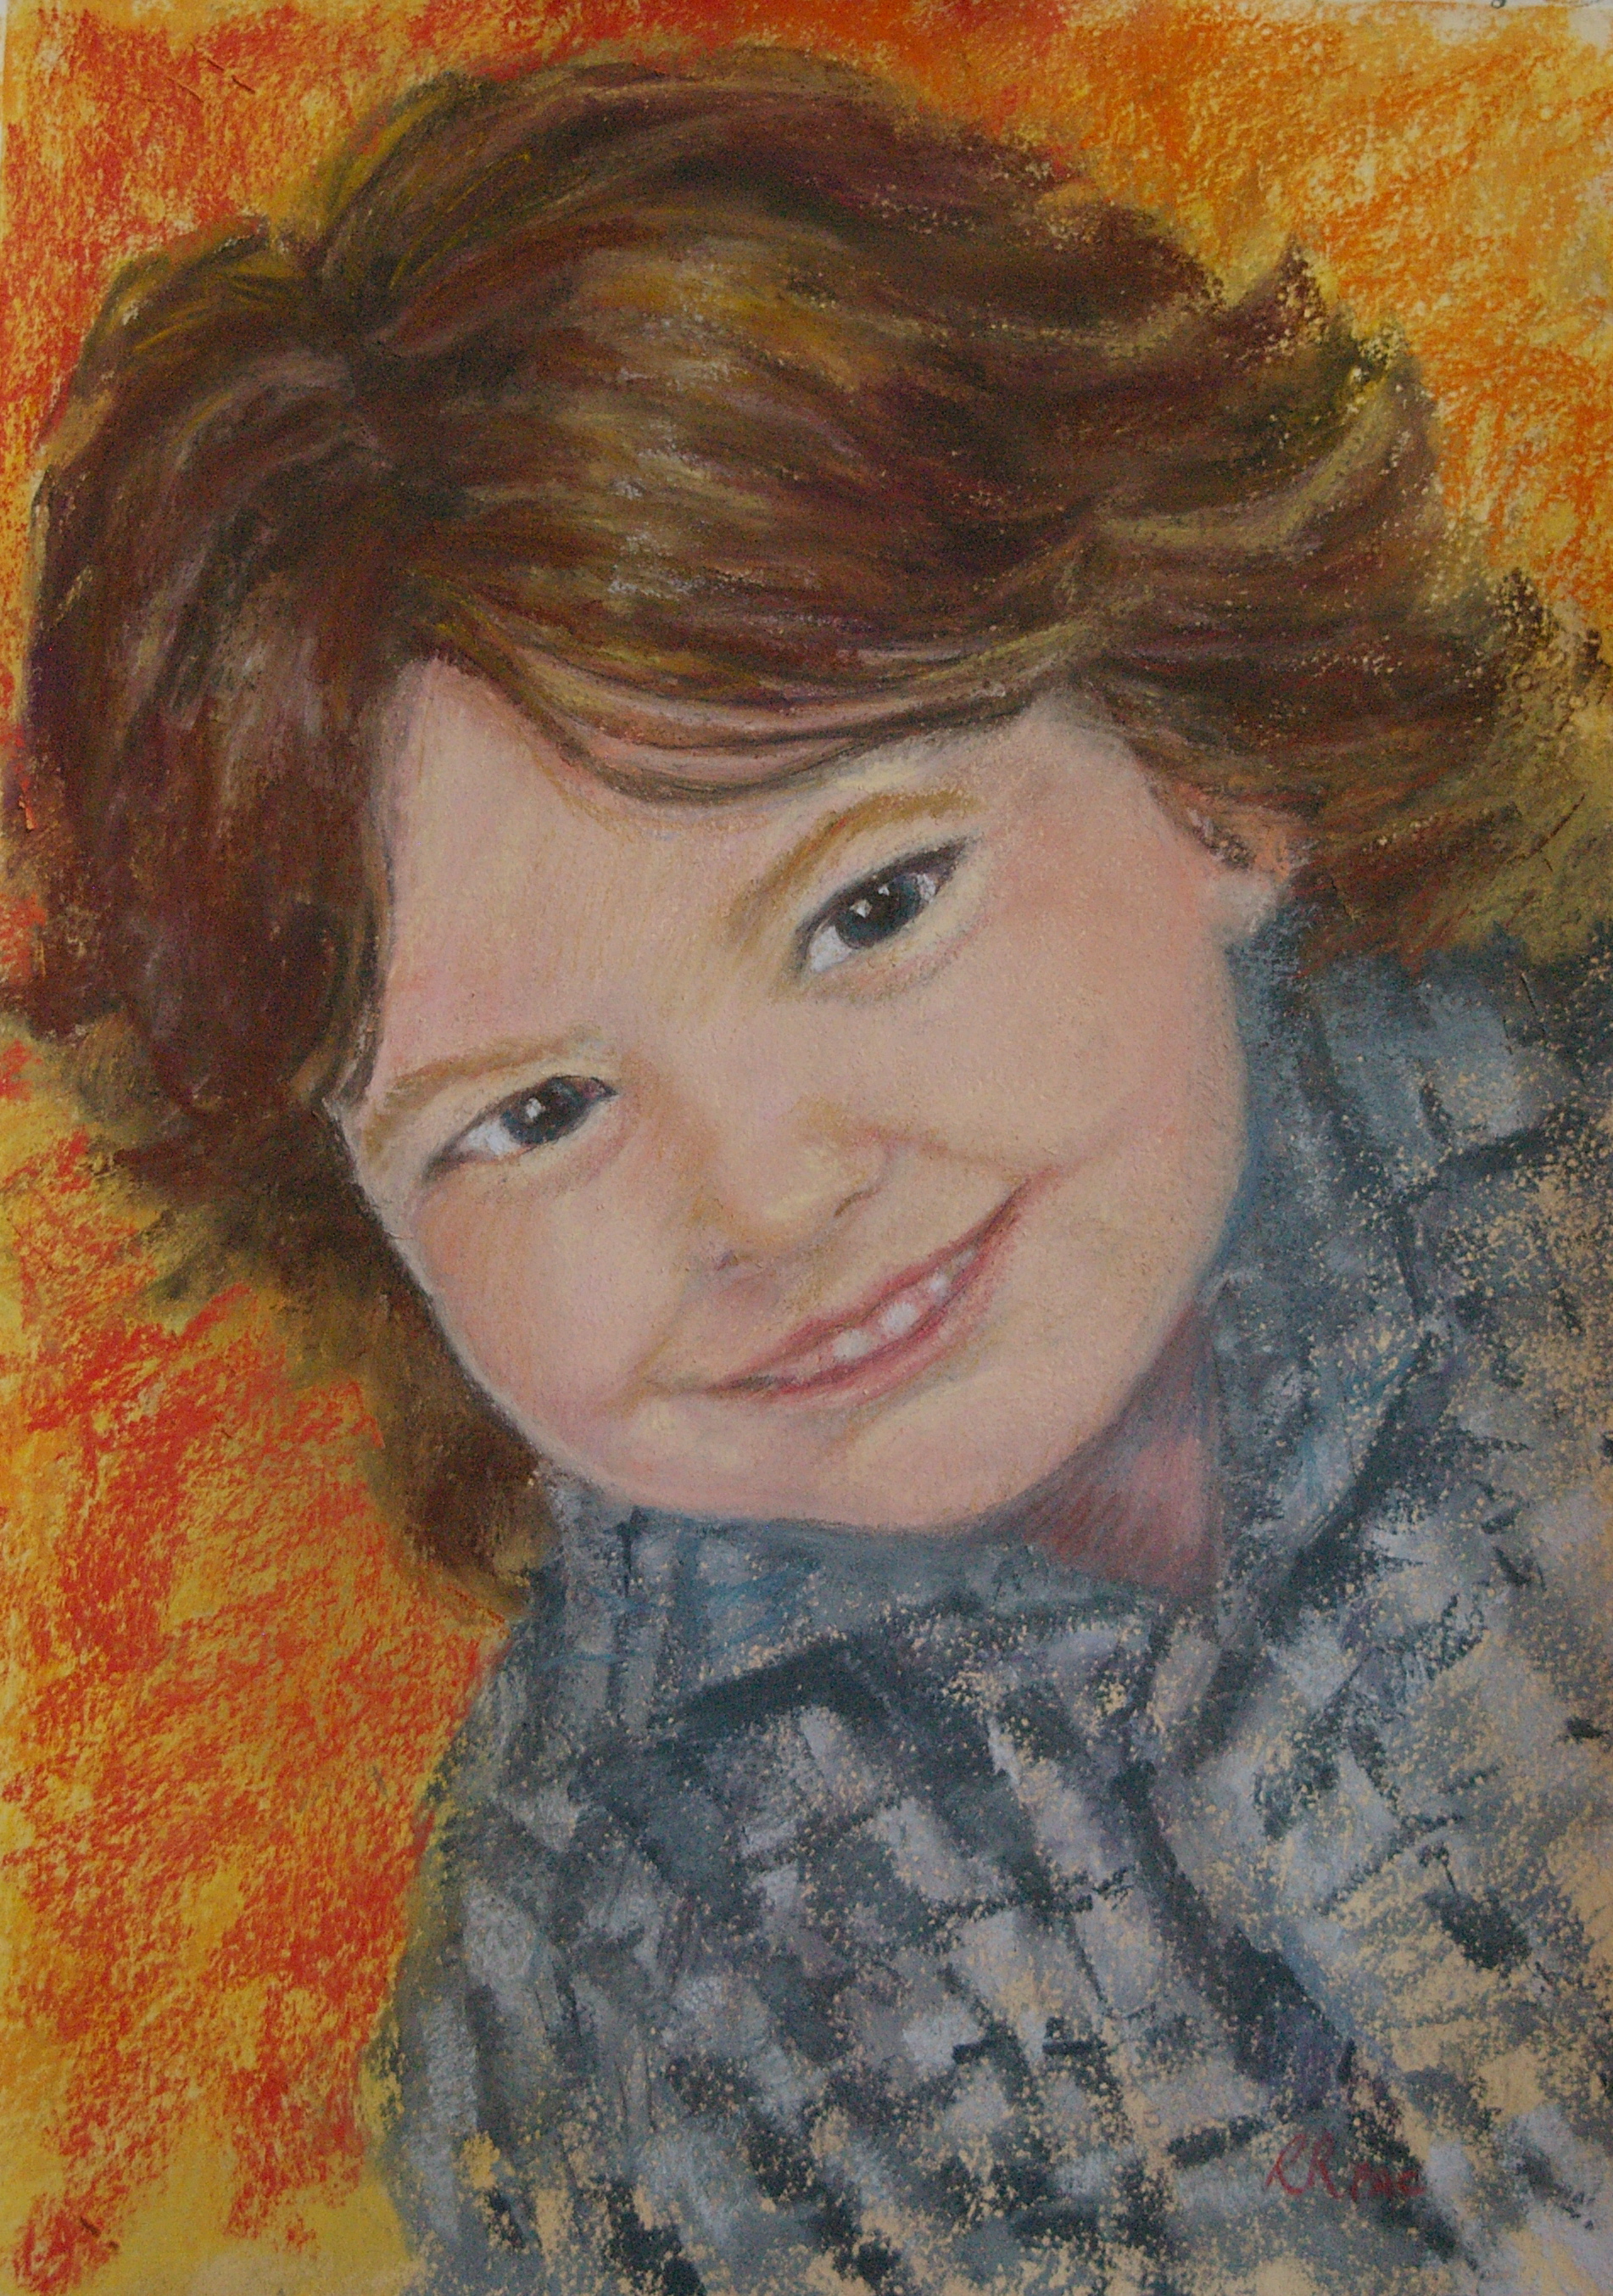
When my friend and colleague asked me to paint a pastel portrait of her three-year-old son, I was both delighted and a bit nervous.  Painting a portrait of someone specific is a lot different from painting "a person." I feel confident that I can do a credible job of rendering the human face and body, but the challenge of capturing the spirit and personality of a particular child was a new goal.  Could I achieve it? My friend sent me a number of charming pictures of her son, and we agreed on one that featured a diagonal composition, with his head tilted and his eyes impishly meeting those of the viewer. In an approach unusual for me, I carefully enlarged the photo to a black and white photocopy, then gridded it out in 1" squares.  Having selected a warm but pale ochre Colorfix paper to work on, I drew a 1.5" grid and scaled up the main features.  On a portrait, the alignment and spacing of each feature is critical, and if it isn't right the likeness is lost.  I didn't want the final painting to be what John Singer Sargent once said a portrait was: "a painting of a person in which something is wrong with the mouth"!

Happily, the portrait progressed well and gave me less angst than I expected.  To bring warmth to the piece, in which the child is wearing a cool blue plaid shirt, I chose complementary orange and warm yellow tones for the background, which, coincidentally, turned out to be the colours in the room where the portrait will hang.  Phew!

We had agreed that I would send the portrait across Canada to my friend, unframed, and she would frame it to her taste.  Worried that the pastel would be creased or punctured, I sandwiched it between two sheets of 1/4" fome-cor, with an extra piece of stiff mat added to keep it rigid and a sheet of glassine to keep it from smudging.  I slathered "fragile artwork--do not bend or puncture" warnings all over both sides, and sealed the edges of the package with sturdy duct tape. Choosing express post to minimize the time it would spend in transit, I also insured the package for the value of the unframed painting, and sent it off with a silent prayer for its safe delivery.

Miraculously, the package arrived safely within 24 hours, and my friend reported delightedly that her son recognized himself immediately.  His mother was very gracious in her praise, and it seems we have a happy result.  Thank goodness!  This process was less nerve-wracking than I had feared, and encourages me to take on other commissions in future.

Dancing with Degas

It's an unbreakable rule in art circles that you work only from your own reference photos, and for work that will be shown in competition or sold, I adhere strictly to that rule.  However, when I saw the photograph that prompted this painting, in an old magazine ad for the ballet in New Zealand, I just couldn't resist, The composition, with its deep space and cut-off figure at the right, was very reminiscent of Degas' ballet and cabaret paintings.  Photography was a young science in Degas' time, and he, like many other artists of the day, was fascinated by its ability to capture a "snapshot" of real life as opposed to posed, stiff tableaux, resulting in many compositions with partial figures along the edges. As well, the artificial light of the stage, bathing the principal dancer in a dramatic glare from the footlights, also reminded me of the many paintings in which Degas used heavily textured layers of brightly coloured pastel to recreate the unnatural brightness and temperature of stage lighting.

I did change the principal dancer from the male in the photo to a female, wanting to introduce a hint of a storyline (is the lefthand dancer jealous of the principal dancer?  Is her hands-on-hips gesture one of pique or simply readiness for her entrance?), and also enjoying creating her tulle skirt, uplit by the footlights. I also simplified the surroundings quite a bit, eliminating distracting props and scenery fragments.

So, this one was just for the pleasure of doing it--but I am framing it for my six year old granddaughter's birthday! I called it "In the Wings" and am indebted to the unknown photographer for the inspiration.

Seasonal Palettes

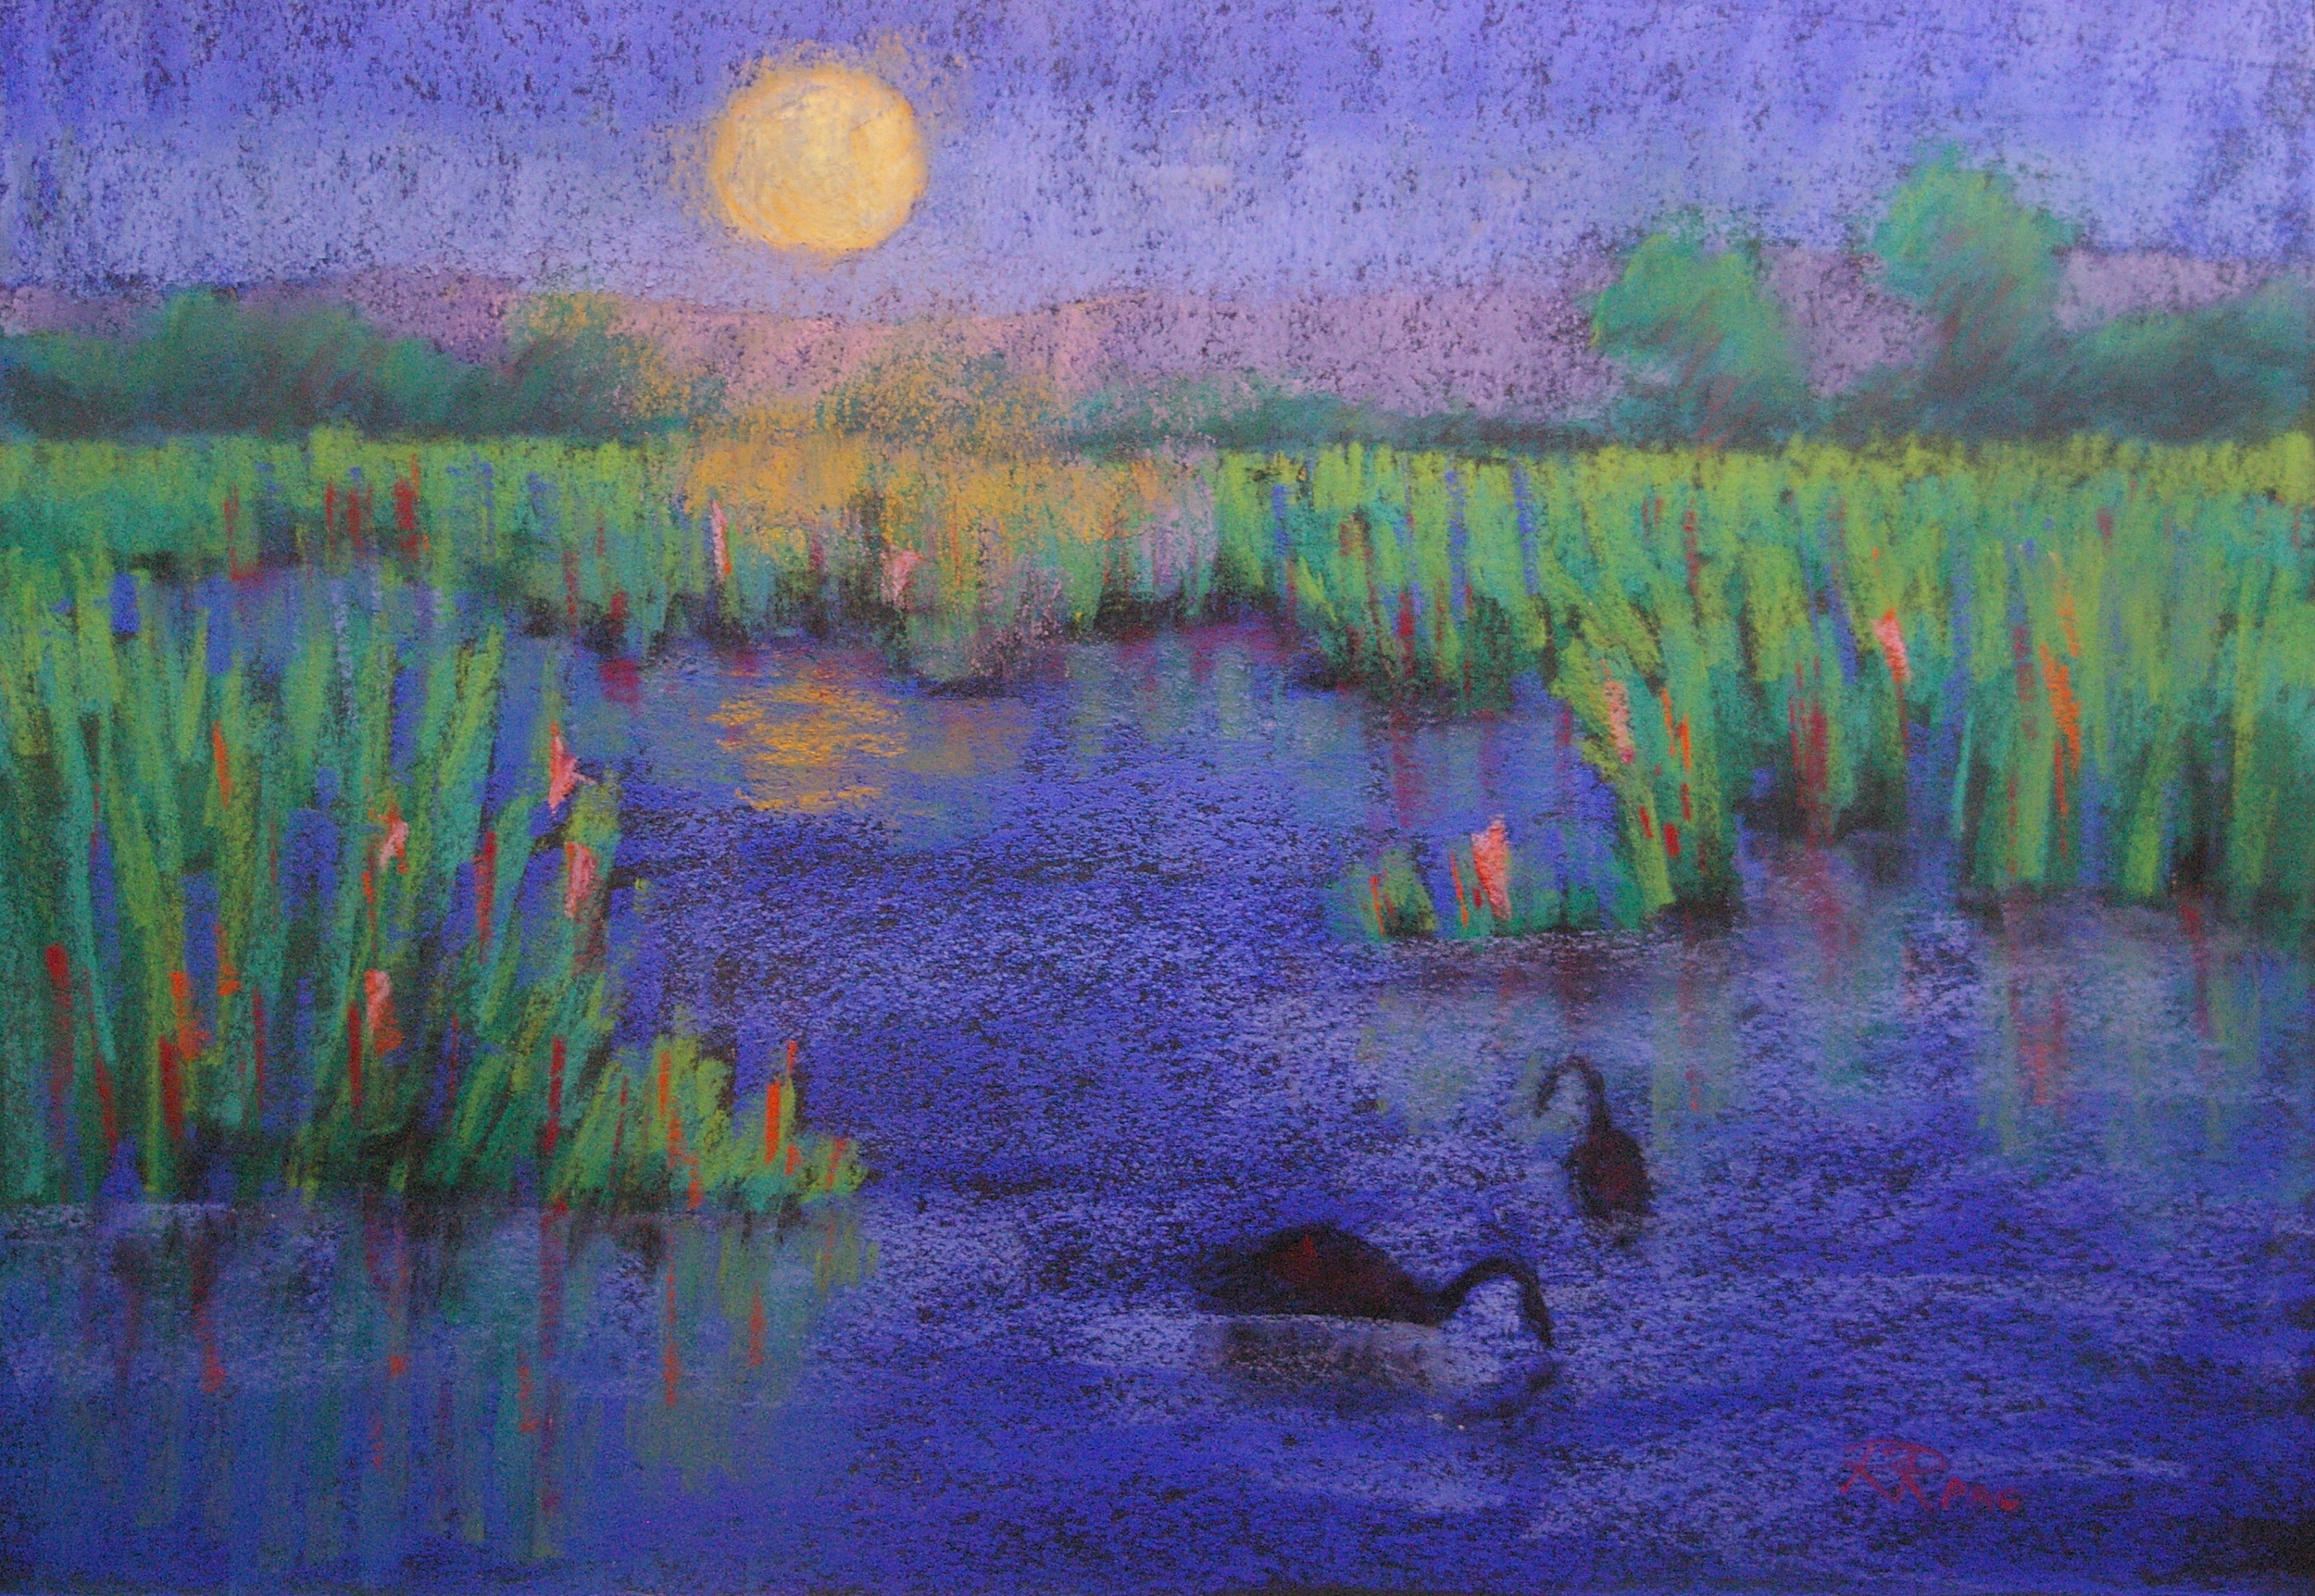
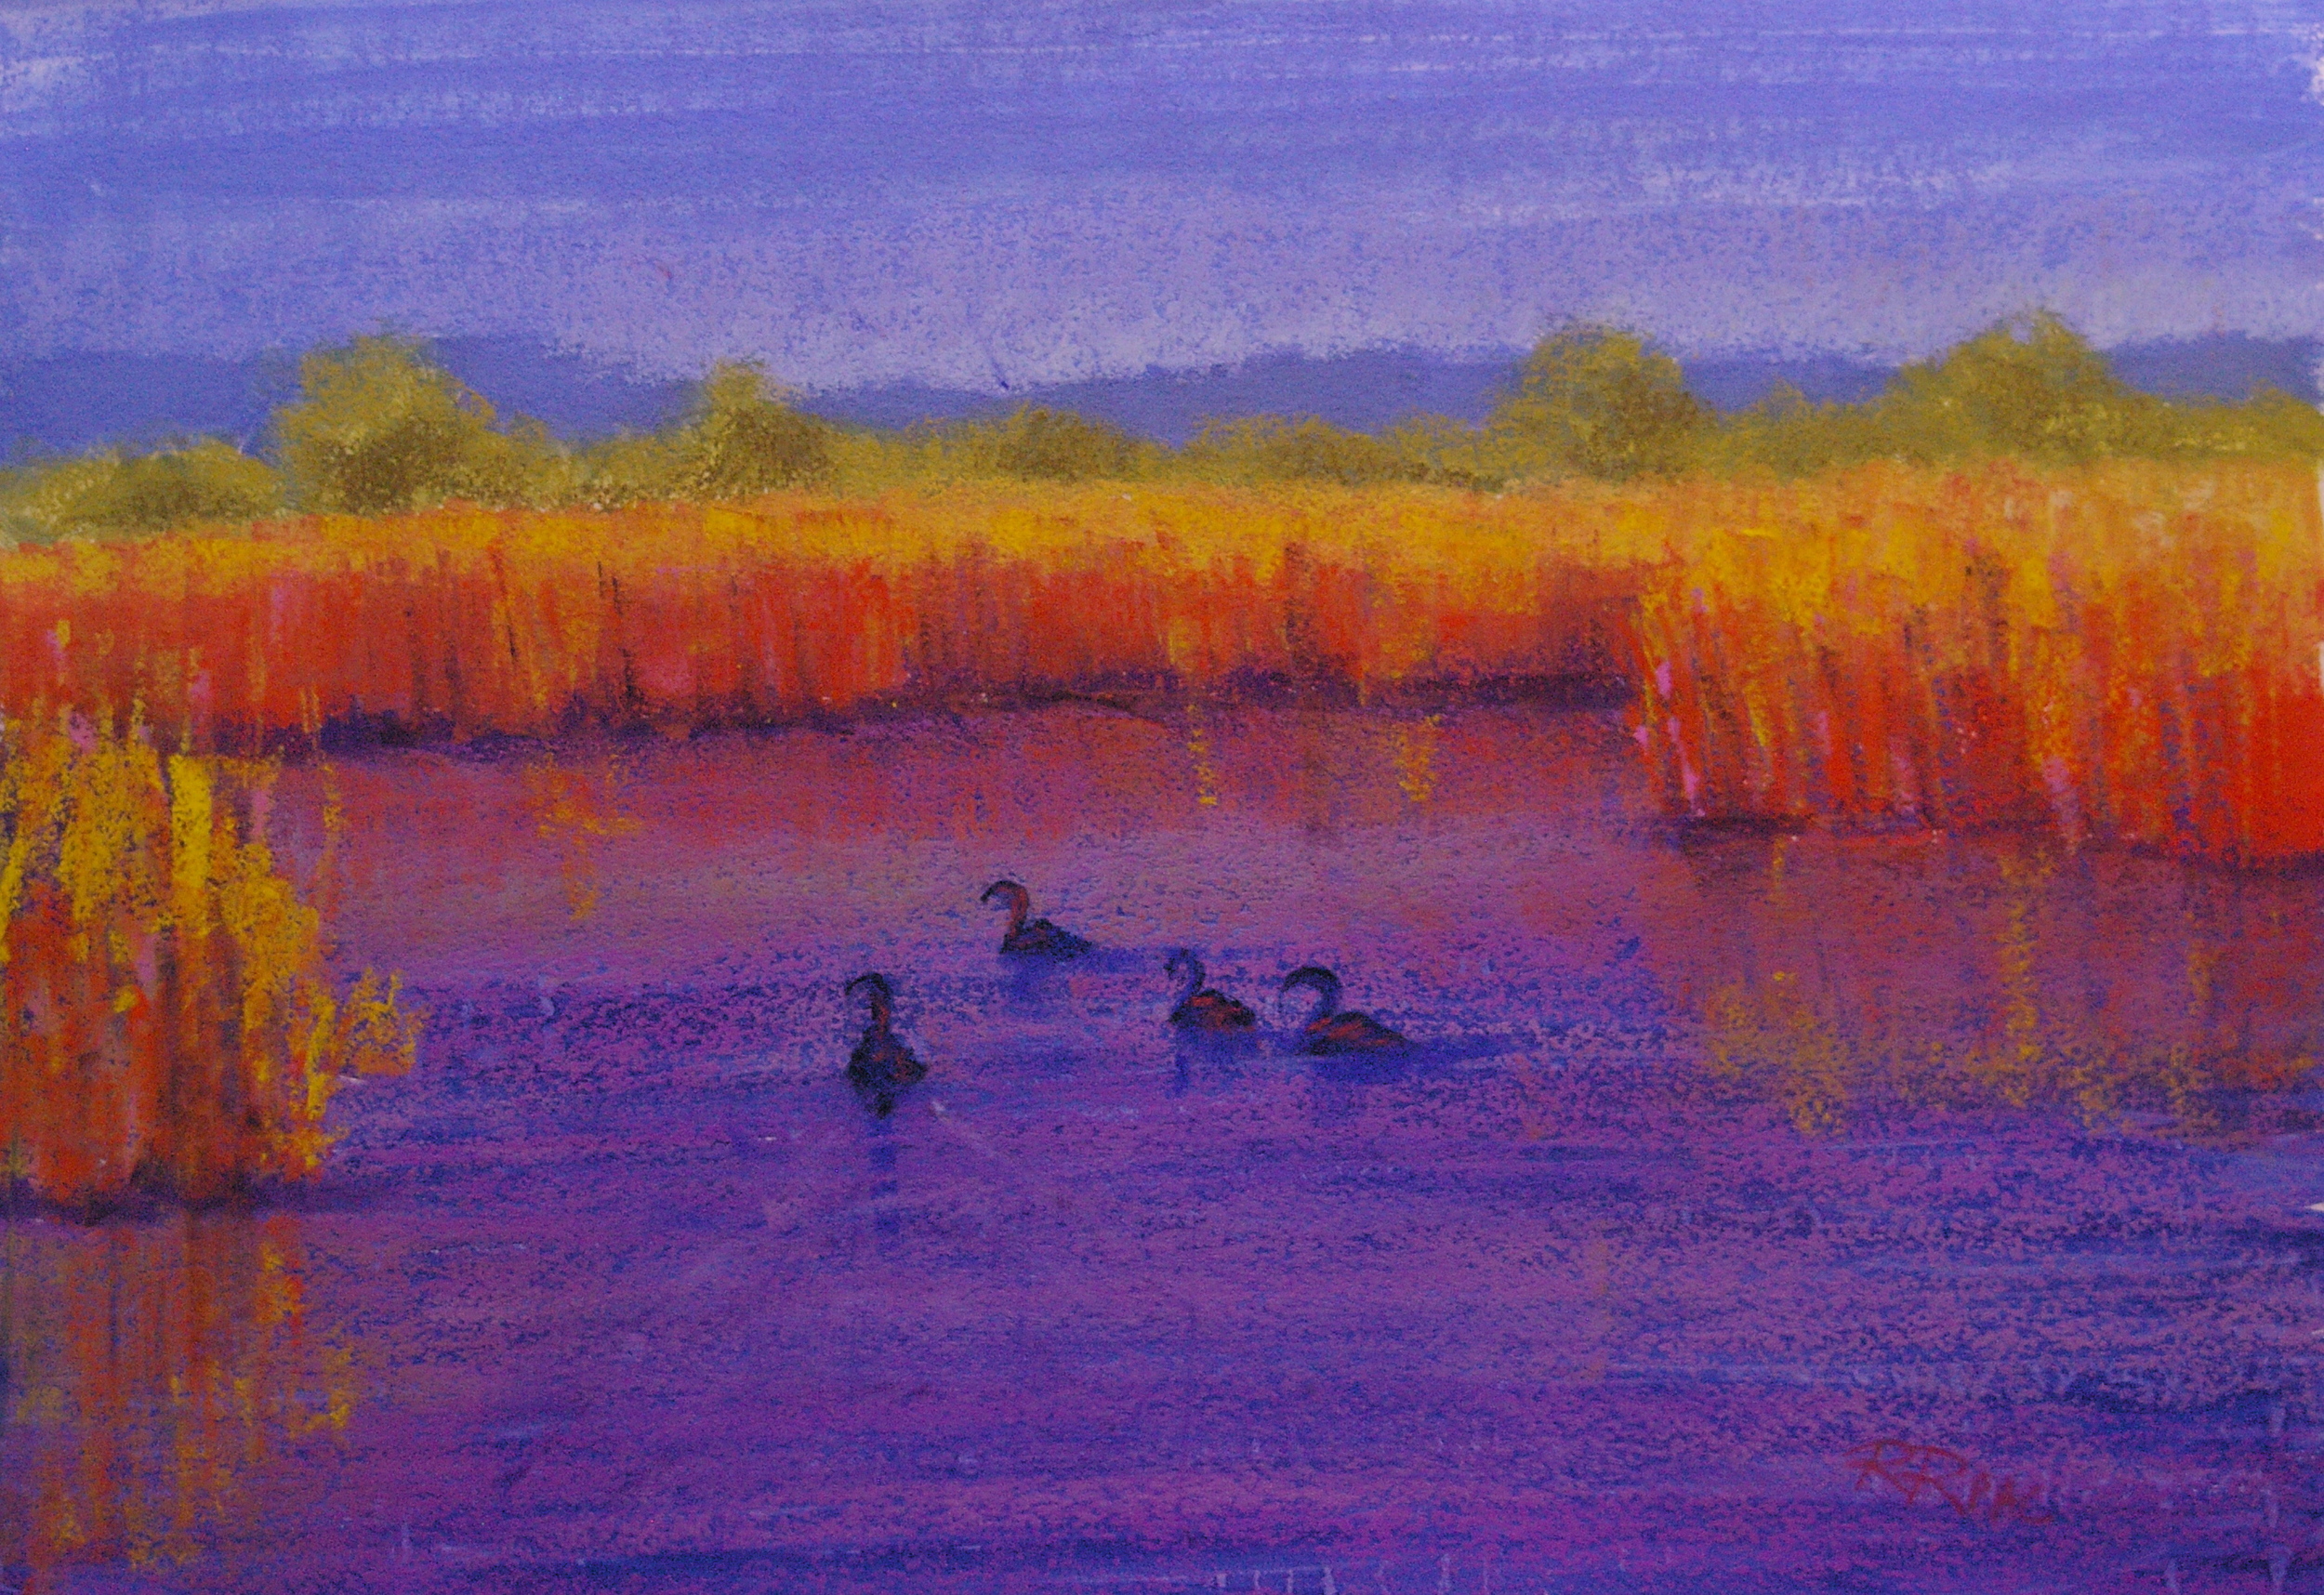
I've just spent two months in New Zealand, painting up a storm--watch for a new gallery on the website soon!  In the meantime, however, I wanted to do a post about an experiment I tried while away. Near Lake Taupo on the North Island, I took a photo of a lovely scene of a marsh, with black swans floating serenely in the water.  The composition was strong and simple, and I decided to have some fun by painting it four times, changing the palette of the work each time to reflect a different season, an exercise recommended by both Richard McKinley and Elizabeth Mowry.  Of course, in New Zealand they actually don't have a "real" winter with ice and snow, but this scene could have been anywhere because it had nothing identifying it as specifically South Pacific.

Below are the four paintings. Summer and winter are painted on black paper; fall and spring on white paper.  It's amazing the difference a different palette makes to the mood of a scene.  The summer picture was not intended to be a night scene, but when I saw the effect of the brilliant colours on the black paper, I couldn't help but think that it looked like a moonlit night in midsummer, so I added the golden orb of the moon to the sky and imagined a flood of light from it over the marsh and in the water.  A fun exercise!

Oil’s well that ends well

Recently I've purchased a number of excellent videos through North Light, including three of pastelist Richard McKinley. His two recent ones are excellent, but the one I want to mention here is an older one entitled "A Studio Session with Richard McKinley." In this 3 hour, 2 disk DVD, Richard is shown completing an entire painting from concept to final touches, and along the way he explains a myriad of critical concepts including simultaneous contrast. The painting Richard completes in this session makes use of a thin oil wash underpainting, and I really like the resulting serendipitous splatters, runs, and textures. This week I was reviewing older photographs for inspiration, and came across a photo that featured a narrow trail between rough low bush, spattered with snow. The textures reminded me of those on Richard's oil underpainting, so I thought I'd give the technique a try.

Richard emphasizes that the underpainting is simply a set-up for the pastel, and encourages you to paint dark where you plan to add light pastel, light where you want to add dark pastel , warm under cool, and cool under warm. It's almost like painting a "negative" underneath the planned finished painting--which takes some thinking and planning, let me tell you!

Here is the resulting underpainting, using VERY thin oil washes (thinned with Turpenoid) on white Dianne Townsend sanded paper. I didn't stretch the paper first, but it didn't buckle or warp with the washes, and they dried within about 30 minutes. In the foreground, I dabbed additional Turpenoid onto the washes shortly after applying them, as I wanted additional runs and textures to appear. The paper was set upright on the easel to enable gravity to affect the paint runs.

Once the underpainting was thoroughly dry, I began to gently and slowly apply pastel, trying to respond to the existing textures and add only enough strokes to bring my concept into focus. In the final painting, much of the evergreen trees and distant bush/treeline is still the oil underpainting. The foreground has been made more textured with the addition of thin lines of pastel (made by repeatedly tapping the crisp edge of square Terry Ludwig pastels across the surface, which gives a more natural effect than "drawing" the lines). The snowy path has the most opaque application of pastel, particularly at the distant focal point, where I wanted the effect of warm sunlight on dense snow. On the left, near the big trees, the snow effect is made by simply dragging a medium blue pastel on its side across the underpainting, allowing some texture below to show through to suggest a thin layer of snow over scruffy underbrush. You'll note that I discarded the idea of the leafless tree silhouette against the skyline, simply covering it over with the pastel I used in the sky. I think the pale blue pastel over the warm gold underpainting gives a nice glow.

I enjoyed using this technique, and will definitely try it again soon.