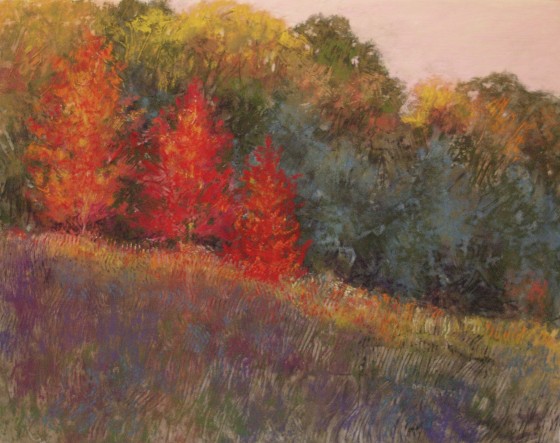
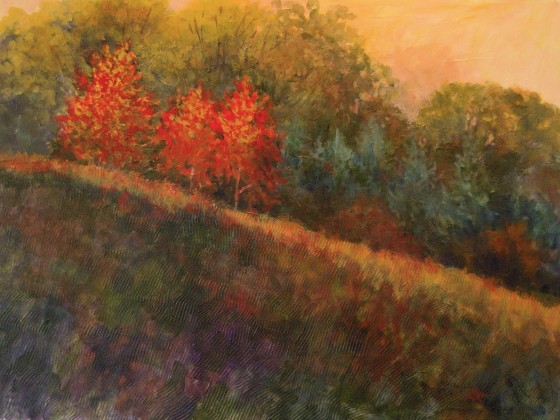
In recent pastel and acrylic lessons, we have been examining how to create texture in our paintings. While there are a variety of visual illusion techniques that can be used in both media, another option is to actually create 3-D texture at the ground or support level. This technique can be used on both card/paper supports for pastel and on panel/canvas supports for acrylic. First, sketch the main shapes of your design onto your support in light pencil lines so that you can create different textures in different areas (grasses, mountains, water, trees, sky etc.). Use white gesso at its full strength (i.e. undiluted, out of the jar or bucket, not the thinner pourable kind) and a cheap paintbrush of an appropriate size for your size of support. Brush on a small area of gesso at a time, keeping your eventual subject matter in mind in each area: in the sky area, you might stroke on the gesso fairly thinly and in flat horizontal strokes, blending well to avoid obvious texture; in a mountainous area, you might use thick random brushstrokes to indicate tumbled rocks and rough texture; for trees, brush the gesso into shapes resembling the direction and texture of the eventual foliage--you can create quite believable conifer foliage with upward flicks of the brush in a branching pattern. In grassy areas, consider using a wood-graining tool or a stiff comb to pull vertical strokes throughout the area--shorter in the background, longer as you move forward to create depth. The wood-graining tool can be found in decorating stores--it's a small rubber triangle with different patterns of teeth formed into each of its three sides--wider, finer etc.. Nice to have, but a couple of cheap dollar store hair combs with thick and thin teeth--or even a fork!-- will also work. The trick is to apply the gesso with one hand (your dominant hand) and pull the comb through with your non-dominant hand before the gesso sets up. This method will create somewhat random, natural-looking grassy texture. Using your dominant hand to do it tends to create more regular, stiff looking textures. Either way, remember to turn your wrist and hand to create strokes at varied angles, not all the same orientation. The thick gesso takes awhile to dry, but this can be sped up with a hairdryer if you are impatient! Don't start painting until it is completely dry in the thickest passages.
Once your textured support is totally dry, you can begin applying the first layer of paint. Use a thin layer in the darkest value you expect to have in each area first. In pastel, you can apply a very thin layer of pigment (you'll note that this rough-textured surface sands your pastel down quickly, so use a light pressure and a thin coat), then wash it down with rubbing alcohol or water to stain the surface. With acrylic, thin this base coat with water and scrub it into the textures with a stiff brush.
Once the first staining layer is down, you can begin layering other colours on top, either brushing them deep into the textures or letting them sit on top of the raised parts. Just as when doing a rubbing of a 3-D object such as a brass rubbing, you'll see the textures emerging as you add layers. Make use of them to create the illusion (and the actuality) of a three-dimensional object.
This technique is fun and effective, but shouldn't be overdone. Keep the textures subtle and let them work for you to enhance, not overwhelm, your subject.
Here are the two demo paintings I did for these lessons:

